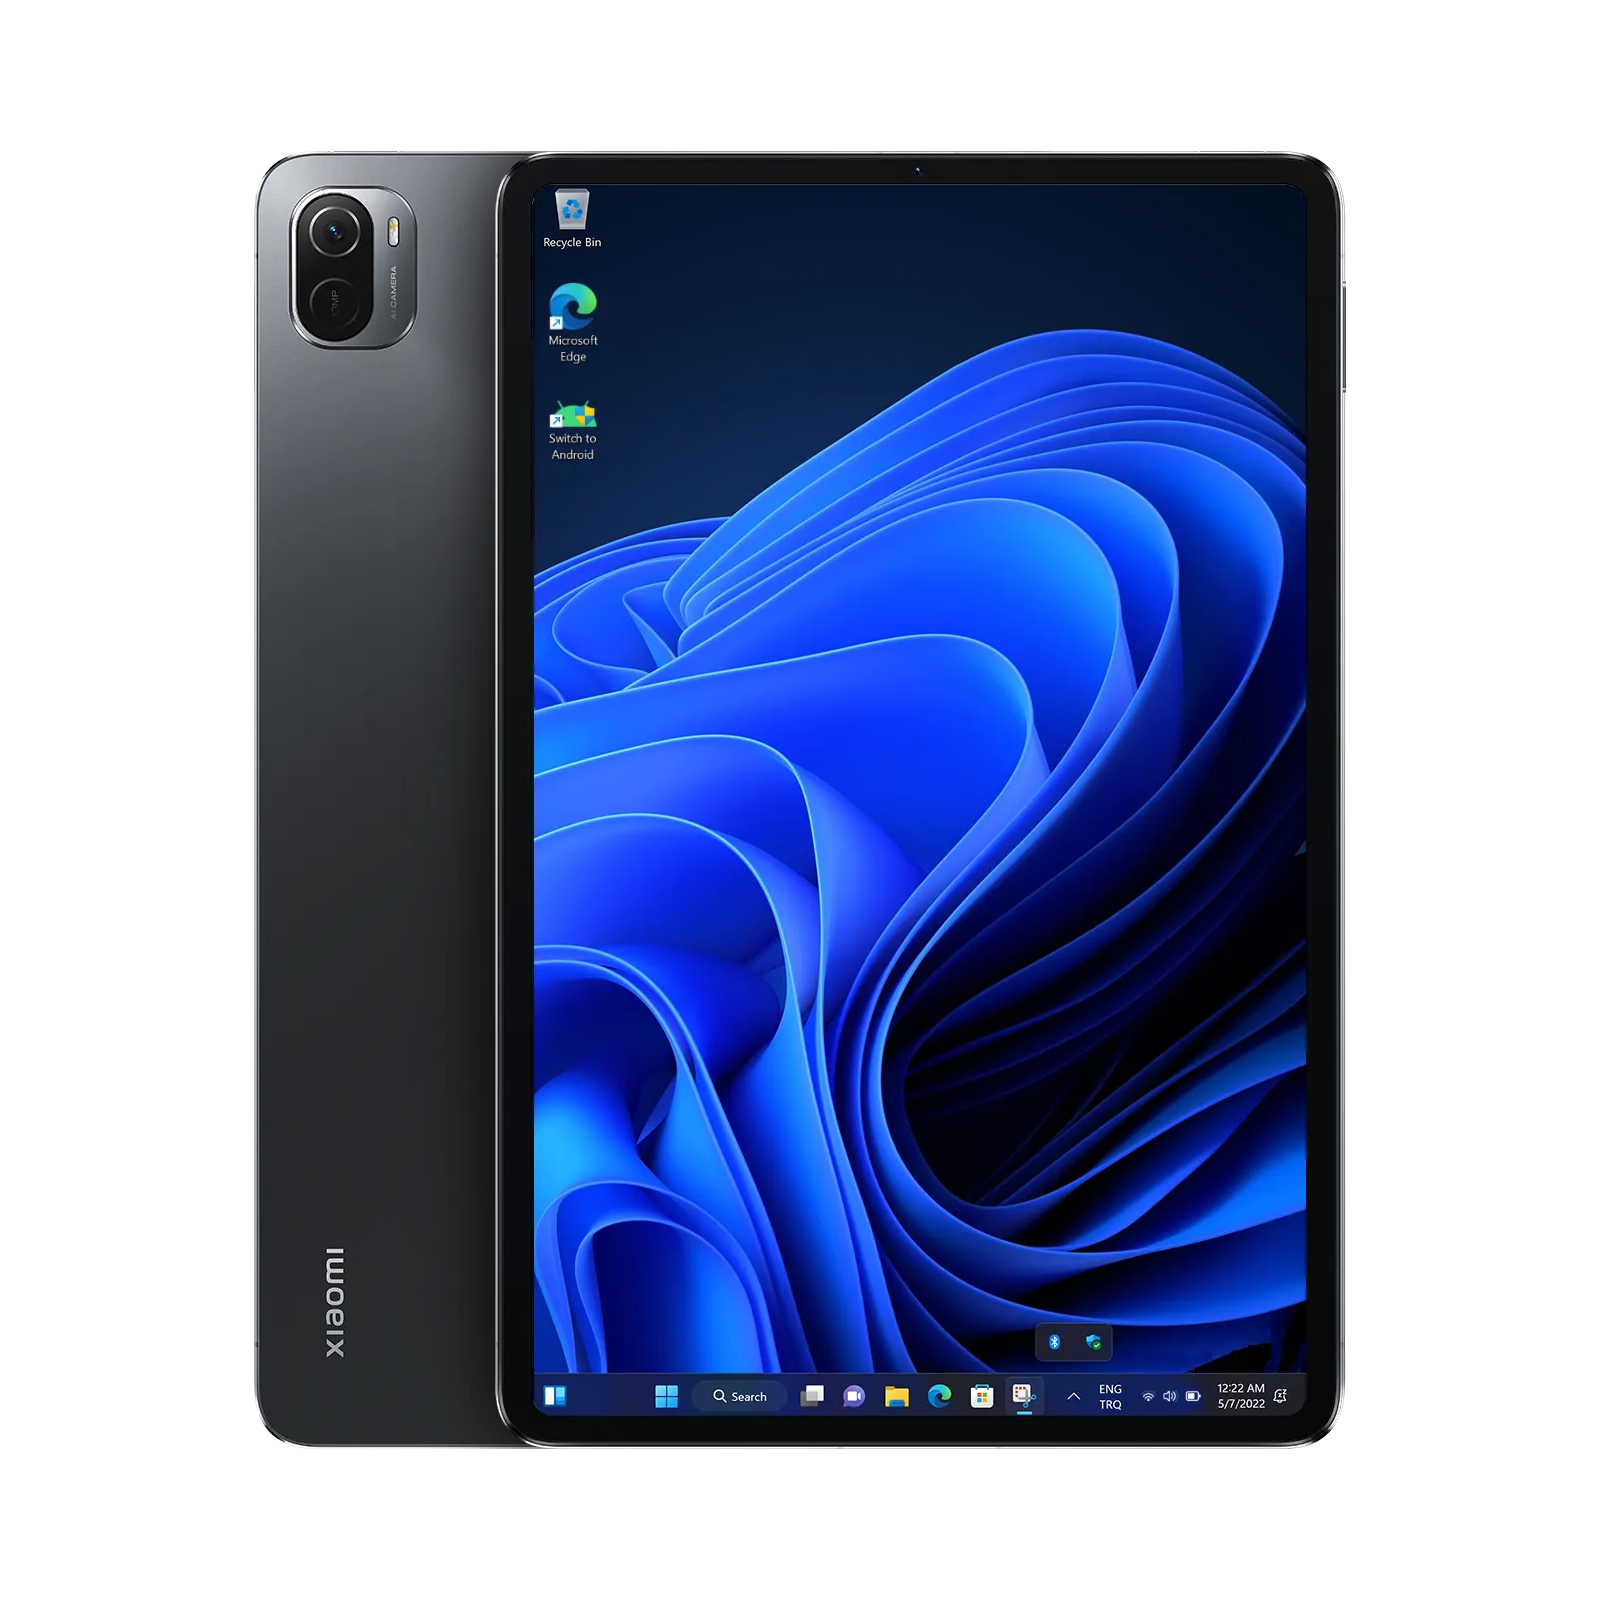
If you are unable to move files to the Windows folder, it means you shut down Windows instead of restarting it. To fix this issue, boot back to Windows and use restart, then as it restarts boot to fastboot and use it to return to Android
This likely means you don't have (proper) USB drivers installed
- Download QUD.zip here and extract it.
- Open Device Manager and find an unknown device or device with errors that may be called Android, ADB Interface, or QUSB_BULK.
- Right click this devjce, select "Update Drivers" > "Browse files", then select the QUD folder you extracted before.
Warning
Do not use a powered USB hub with host mode enabled, this can potentially break your device. If you use a powered USB hub, please use the disable USB host mode guide
Charging in Windows only works on specific cables. Cables that have been known to work are the original Poco X3 Pro cable (identified by the additional orange/red pin in the USB-A port), and the Nimaso 100W USB-C to USB-C fast charging cable.
- Download
QUD.zipand extract it. - Open Device Manager and find an unknown device or device with errors that may be called Android or QUSB_BULK.
- Right click it, select
Update Drivers→Browse files, then select the QUD folder you extracted before.
- Install Termux and grant it root access.
- Install tsu and parted using these two commands, press
Yif it asks you to confirm:
pkg install tsupkg install parted- Run the below command to open parted:
parted /dev/block/sda- Run
printto list all partitions. - Look for partitions that are more than 16 characters long, for example "Basic Data Partition" and note their volume number.
- Rename this partition with
name $ test, replacing $ with the partition number, and replacing test with the name you want the partition to have. - Run
quit.
- Rename C:\boot.img to C:\bootb.img.
- Download the SHRP recovery image, rename it to boot.img, and place it in
C:\. - Run the Switch to Android or Android shortcut to flash and boot into SHRP recovery.
- Once booted into the recovery, connect your device to your PC and run:
adb shell parted /dev/block/sda- Run
printto list all partitions. - Look for partitions that are more than 16 characters long, for example "Basic Data Partition" and note their volume number.
- Rename this partition with
name $ test, replacing $ with the partition number, and replacing test with the name you want the partition to have. - Run
quit. - Run
adb reboot bootloader, and when you see the FASTBOOT logo on your screen, flash your Android boot image withfastboot flash boot_a path\to\boot.img. - You may have to do the same for boot_b if your device does not boot, or if it boots back to the recovery.
Important
Make sure to put the UEFI image back into the UEFI folder, or if you used the Windows method, the boot.img in C:\
-
Open driver folder
-
Remove the
<DriverPackageFile Path="$(mspackageroot)\components\QC8150\Device\DEVICE.SOC_QC8150.NABU\Drivers\USB" Name="fsa4480.inf" ID="fsa4480"/>line from NABU.xml -
Reinstall the driver
-
Boot UEFI
Note
If you are still getting a BSOD, use the reinstall guide and use this driver package
-
Boot to fastboot
-
fastboot set_active other -
fastboot flash boot <boot.img> -
fastboot reboot
